Well, if we look around, we will find that almost everyone now uses a Windows operating system. Compared to every other desktop operating systems, Windows provides users far more features. Not only features, but the software availability is also high on Windows compared to Mac and Linux.
Do you know that your Windows hard drive can work the same way as RAM (Random access memory)? In this article, we are going to talk about how to use Hard drive as RAM on Windows 10 operating system. But, before we share the method, let’s know how RAM Works on Windows 10.
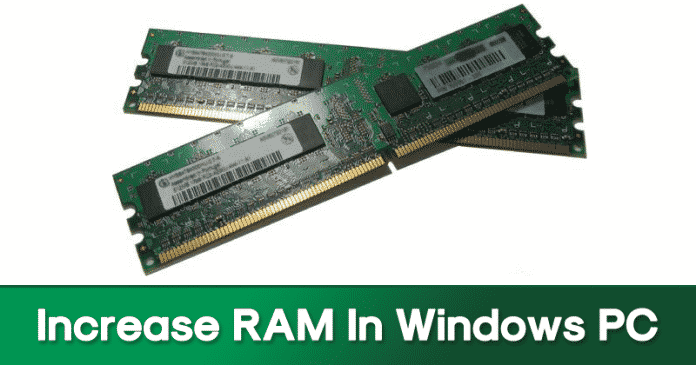
Our computer uses two types of memory – Physical and Virtual. The Physical one refers to the RAM chips that were installed on your motherboard. On the other hand, Virtual memory is the reserved section of the hard drive. Windows uses this reserved section to store data of the apps that are open in the background, but not in use.
How To Increase RAM In Windows PC Using HDD Space
So, the more will be the RAM, the better will be the performance and stability. If you can’t afford RAM, then you can always increase the Virtual memory of your computer. This will significantly improve the app loading speed and performance. So, let’s know how to use Hard drive as RAM on Windows 10.
Step 1. First of all, in your windows PC, navigate to My Computer and there you need to right-click on the empty screen there and select properties.
Step 2. Now on the left panel, you need to select the option Advanced Settings.
Step 3. Now under the performance tab, click on the Settings option and you will see another dialog box.
Step 4. Now click on the advanced section and there under Virtual memory simply click on Change option.
Step 5. Now untick on the option Automatic Manage Paging and then choose the drive whose paging memory you want to alter. Simply define the Custom Size there and simply click on set and then okay option.
That’s it, you are done! Now you can feel the difference in performance in your Windows PC.

